Quick Start Guide
- Open the Application: Navigate to the web portal https://web.cardio.ai/.
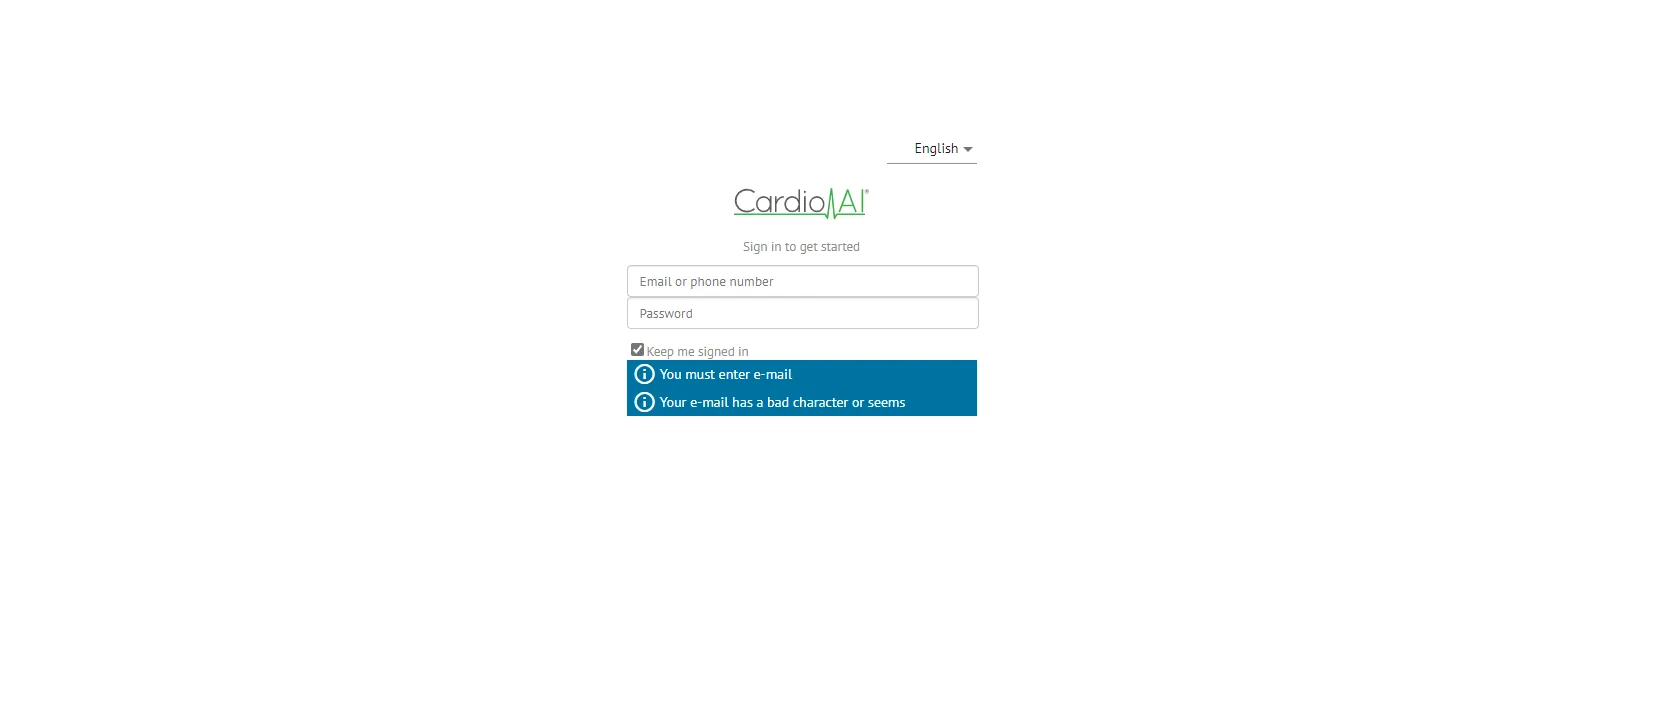
- Enter Credentials: Input your username and password.
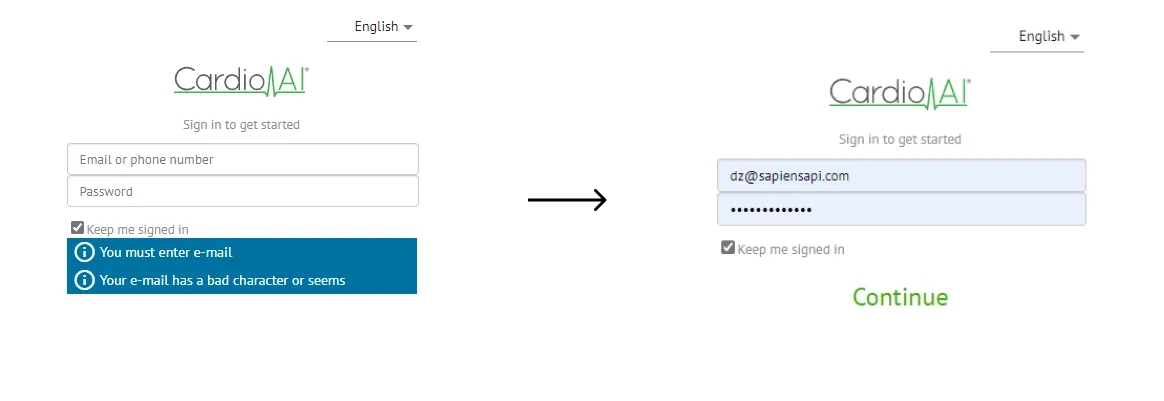
Please note: login credentials are provided by the manufacturer.
- Sign In: Click the “Sign In” button to access your account.
The user is automatically logged out after 10 minutes of inactivity.
Dashboard Overview
Section titled “Dashboard Overview”- Overview Screen: Upon logging in, you’ll see your dashboard.
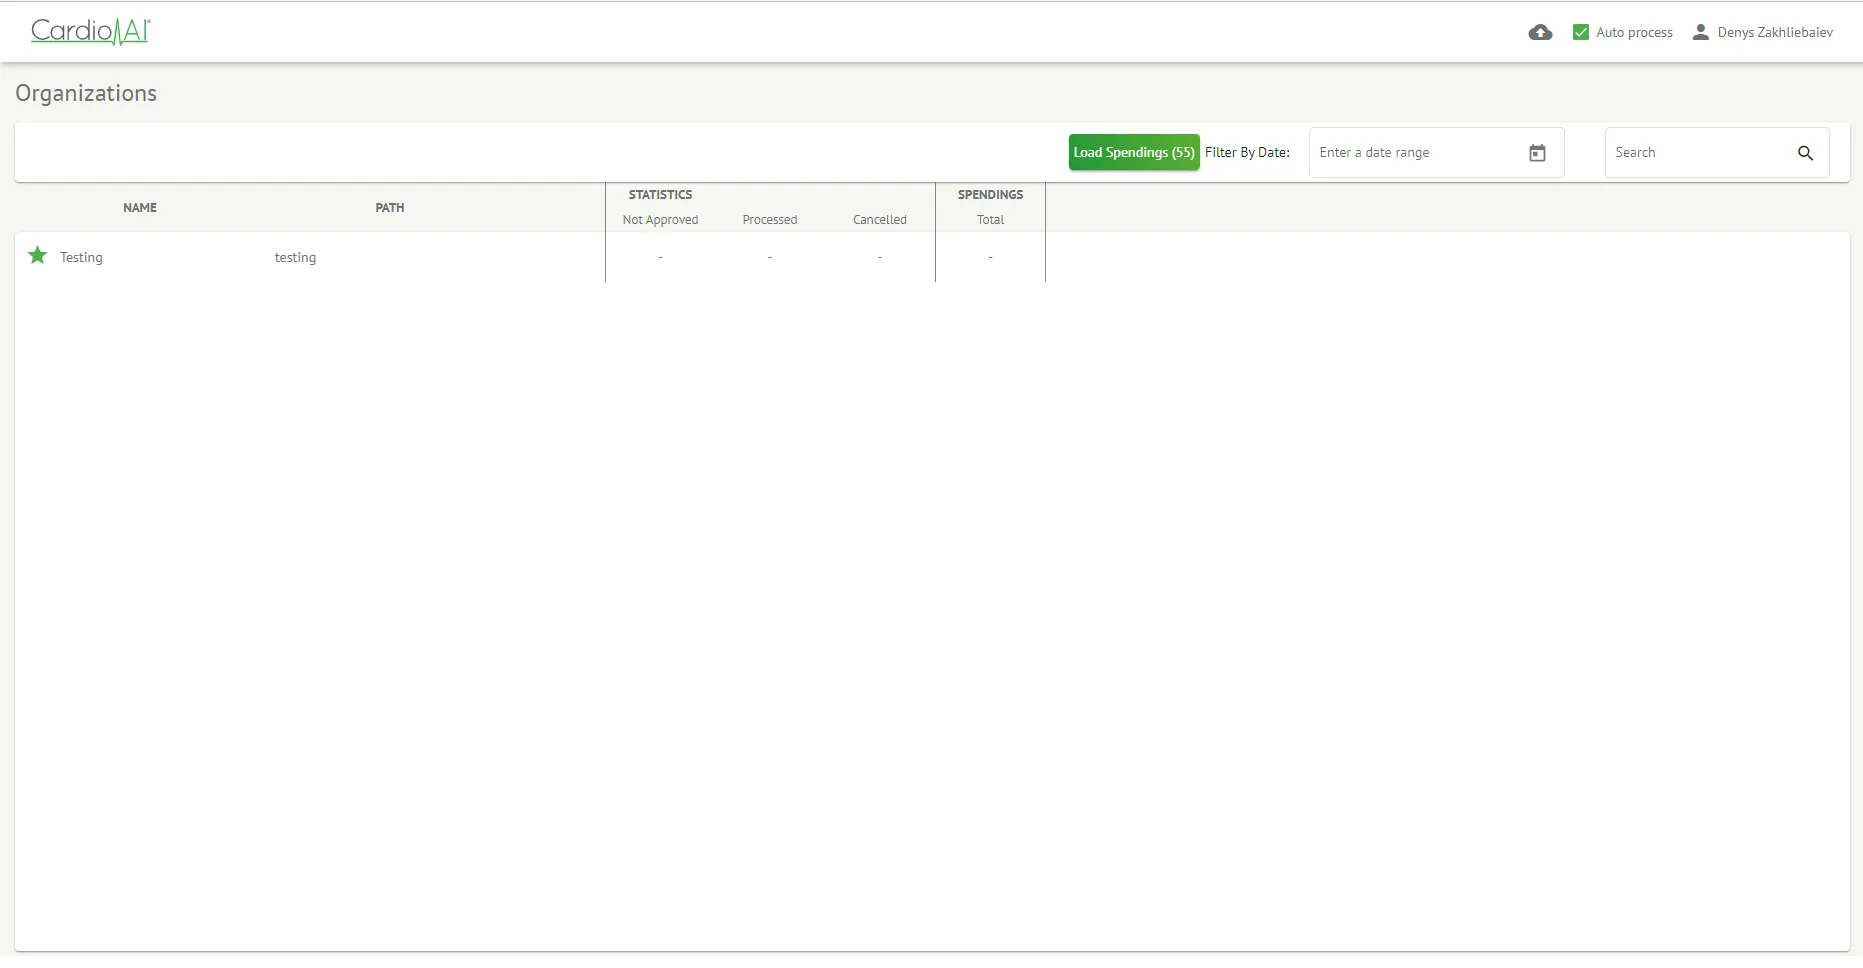
- Key Components: The dashboard displays your recent activity, notifications, and key metrics.
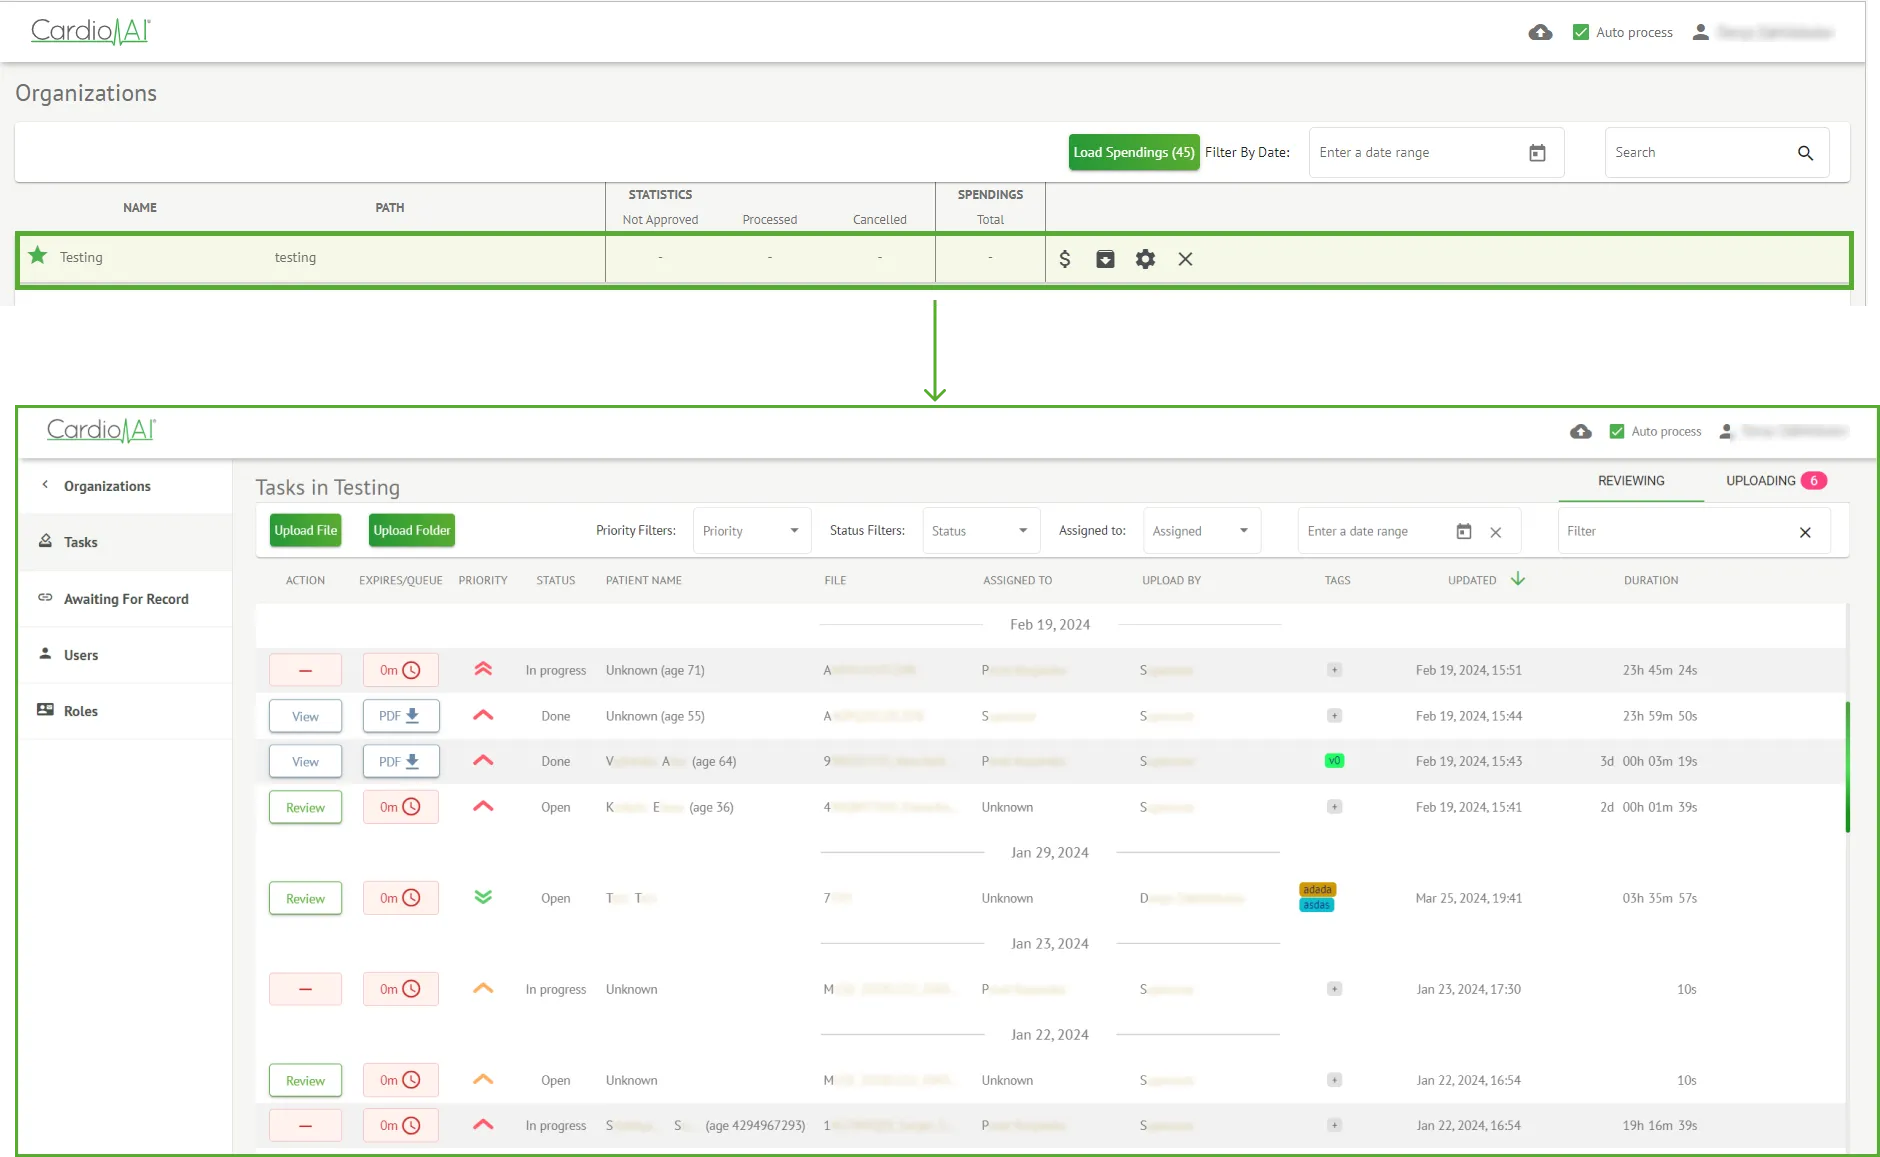
- Navigation: Use the sidebar or top menu to access sections like File Upload, ECG Editing, and Reports.
File Uploading
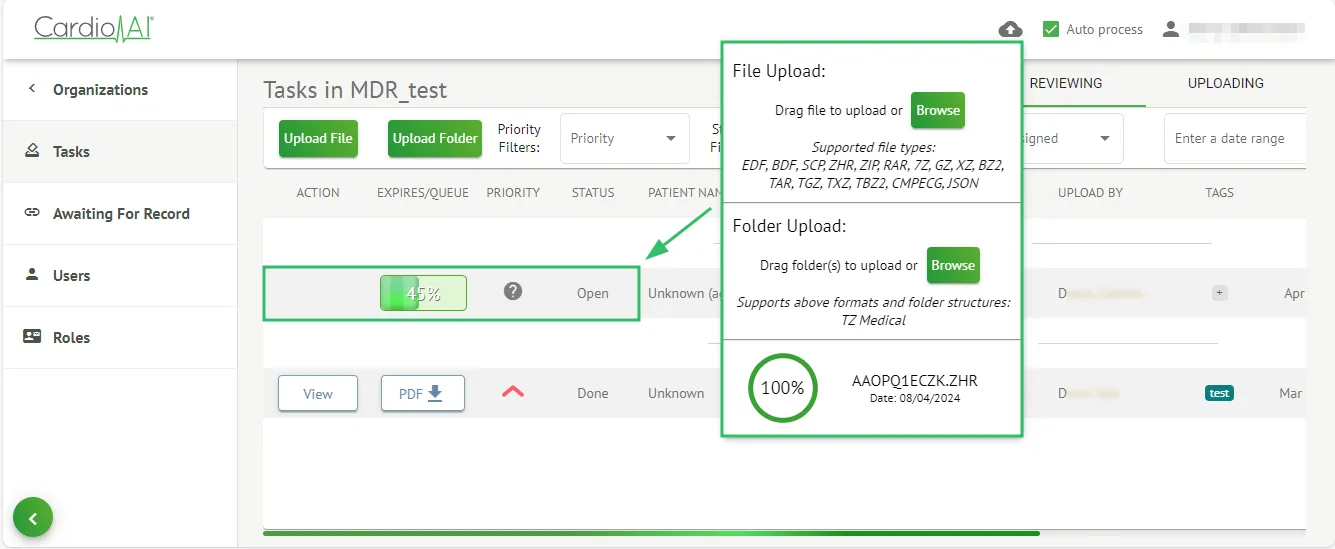
Section titled “File Uploading”- Access Upload: Click on the “Upload Files” button from the dashboard.
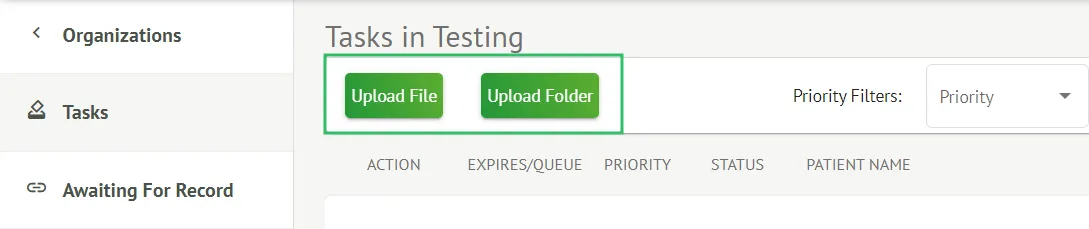
-
Select Files: Choose the files from your computer (ensure they are in the supported formats EDF and BDF).
-
Upload: Confirm your selection and wait for the upload to finish.
-
Status: A progress indicator or confirmation message will show once the upload is complete.
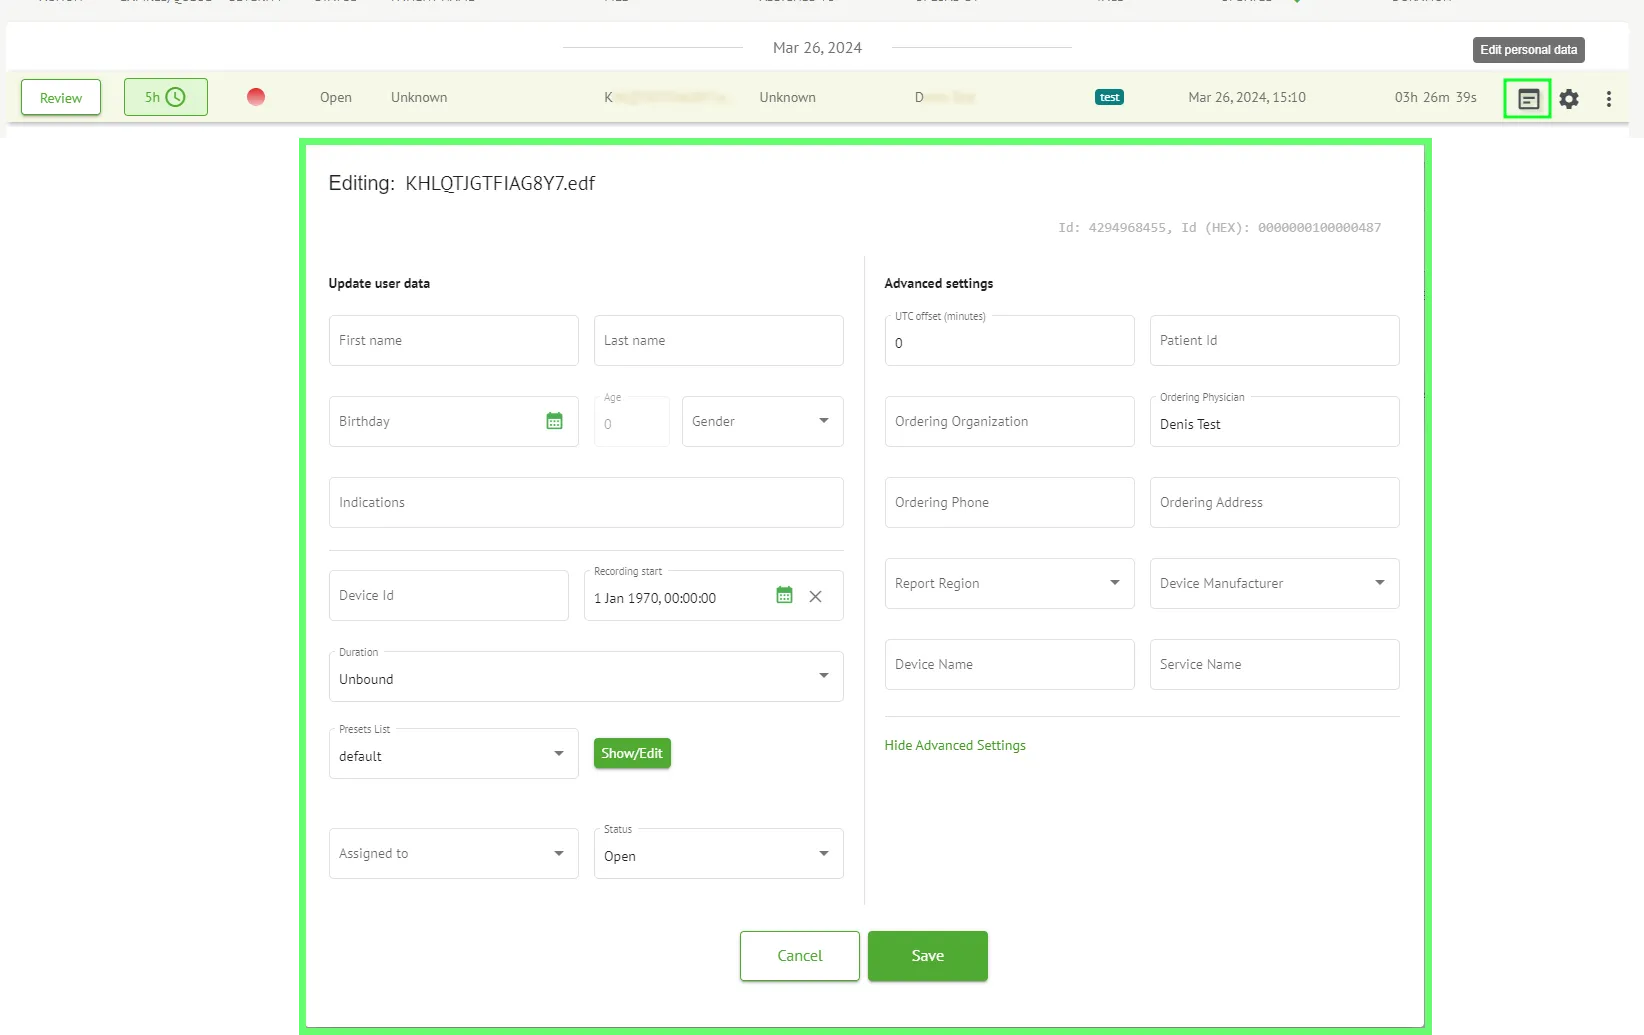
Edit Patient Data: Edit patient personal data, report settings.
Editing ECG
Section titled “Editing ECG”-
Navigate to ECG: Go to the ECG section via the dashboard menu.
-
Select Record: Choose the ECG record you wish to edit.

- Editing Tools: Use the available tools to adjust parameters, annotate, or analyze the ECG.
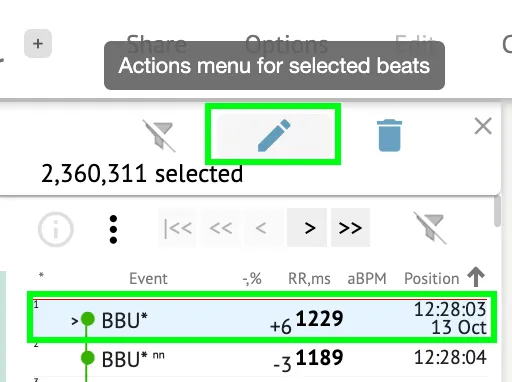
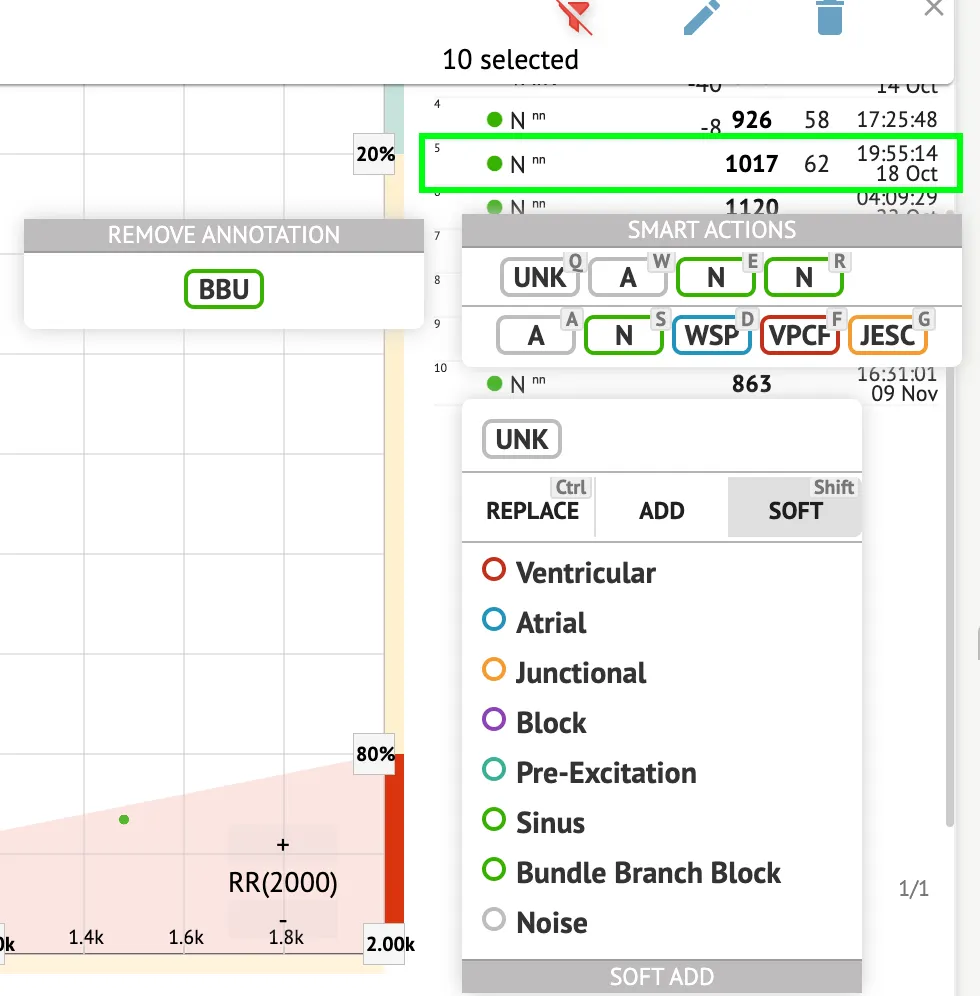
Please note: annotations made by the device must be confirmed by a physician and can be edited or deleted.
- Save Changes: After making edits, save your work to update the record.

Report Description
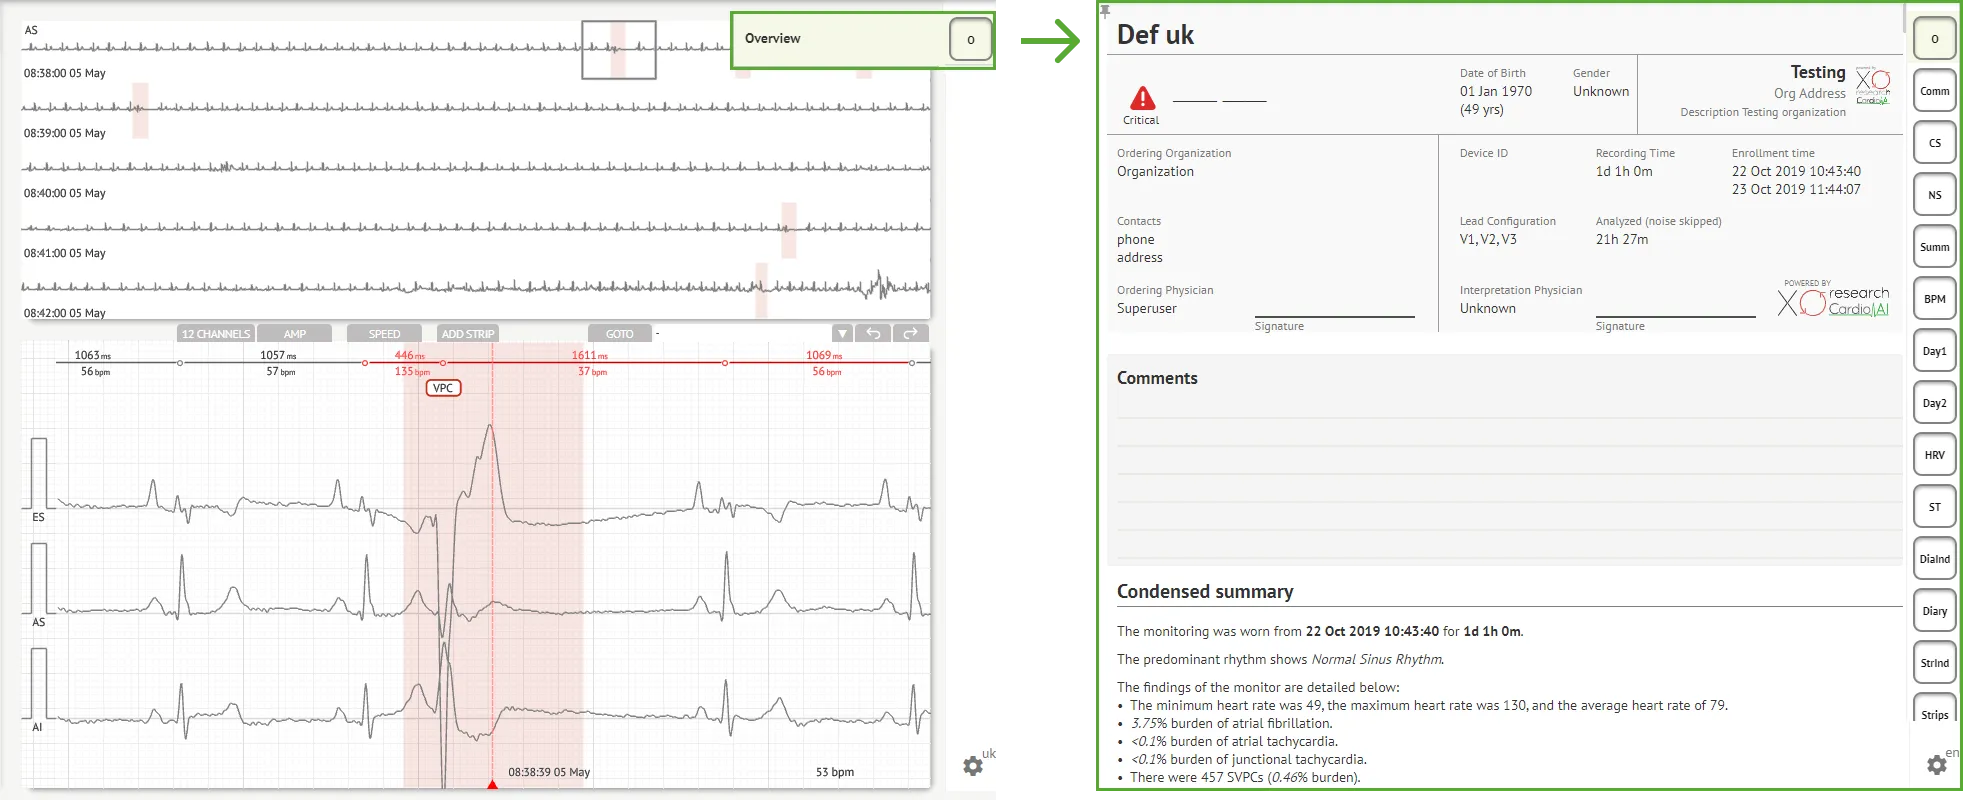
Section titled “Report Description”- Report Overview: The report provides detailed insights into your uploaded files and ECG analyses.
-
Content: It includes summary statistics, visual graphs, annotations, and priority indicator markings.
-
Review: Carefully review the report to ensure that all data is accurate and comprehensive.
Creating a PDF Report
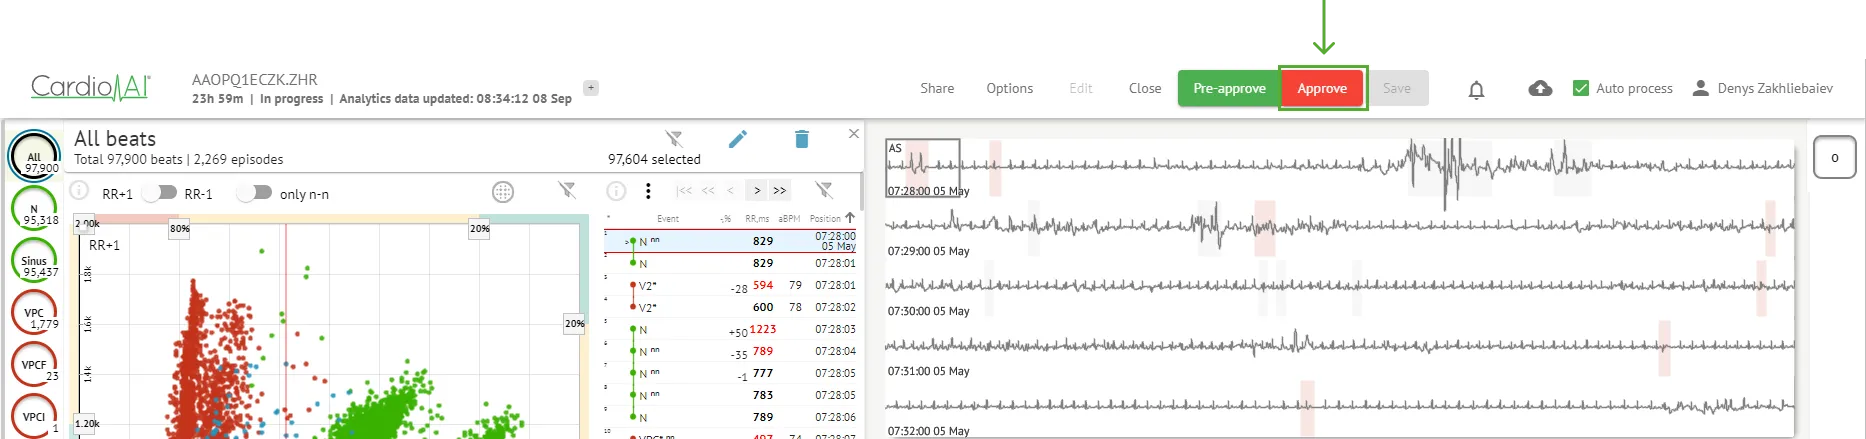
Section titled “Creating a PDF Report”- Generate PDF: Once you’ve reviewed your report, click the “Approve” button.
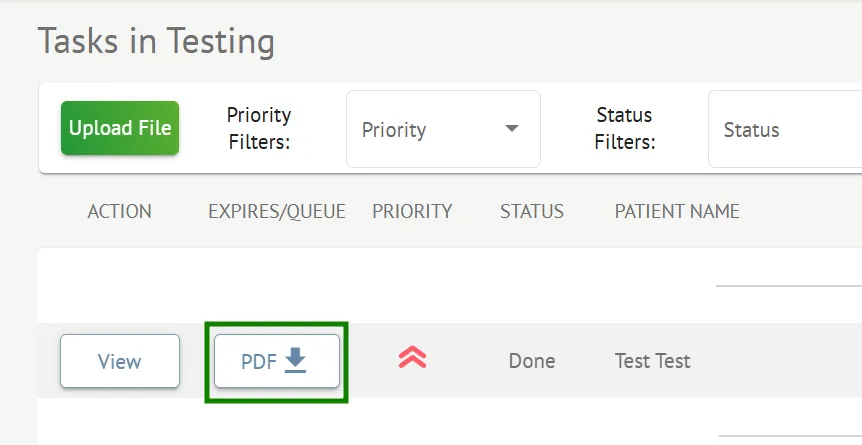
- Download/Share: Download the PDF for your records or share it directly via email.